Simba documentation
Data Preparation — Cleaning and Formatting Best Practices
Good data preparation is the foundation of a reliable marketing mix model. This guide covers best practices for cleaning, formatting, and structuring your data before uploading it to Simba.
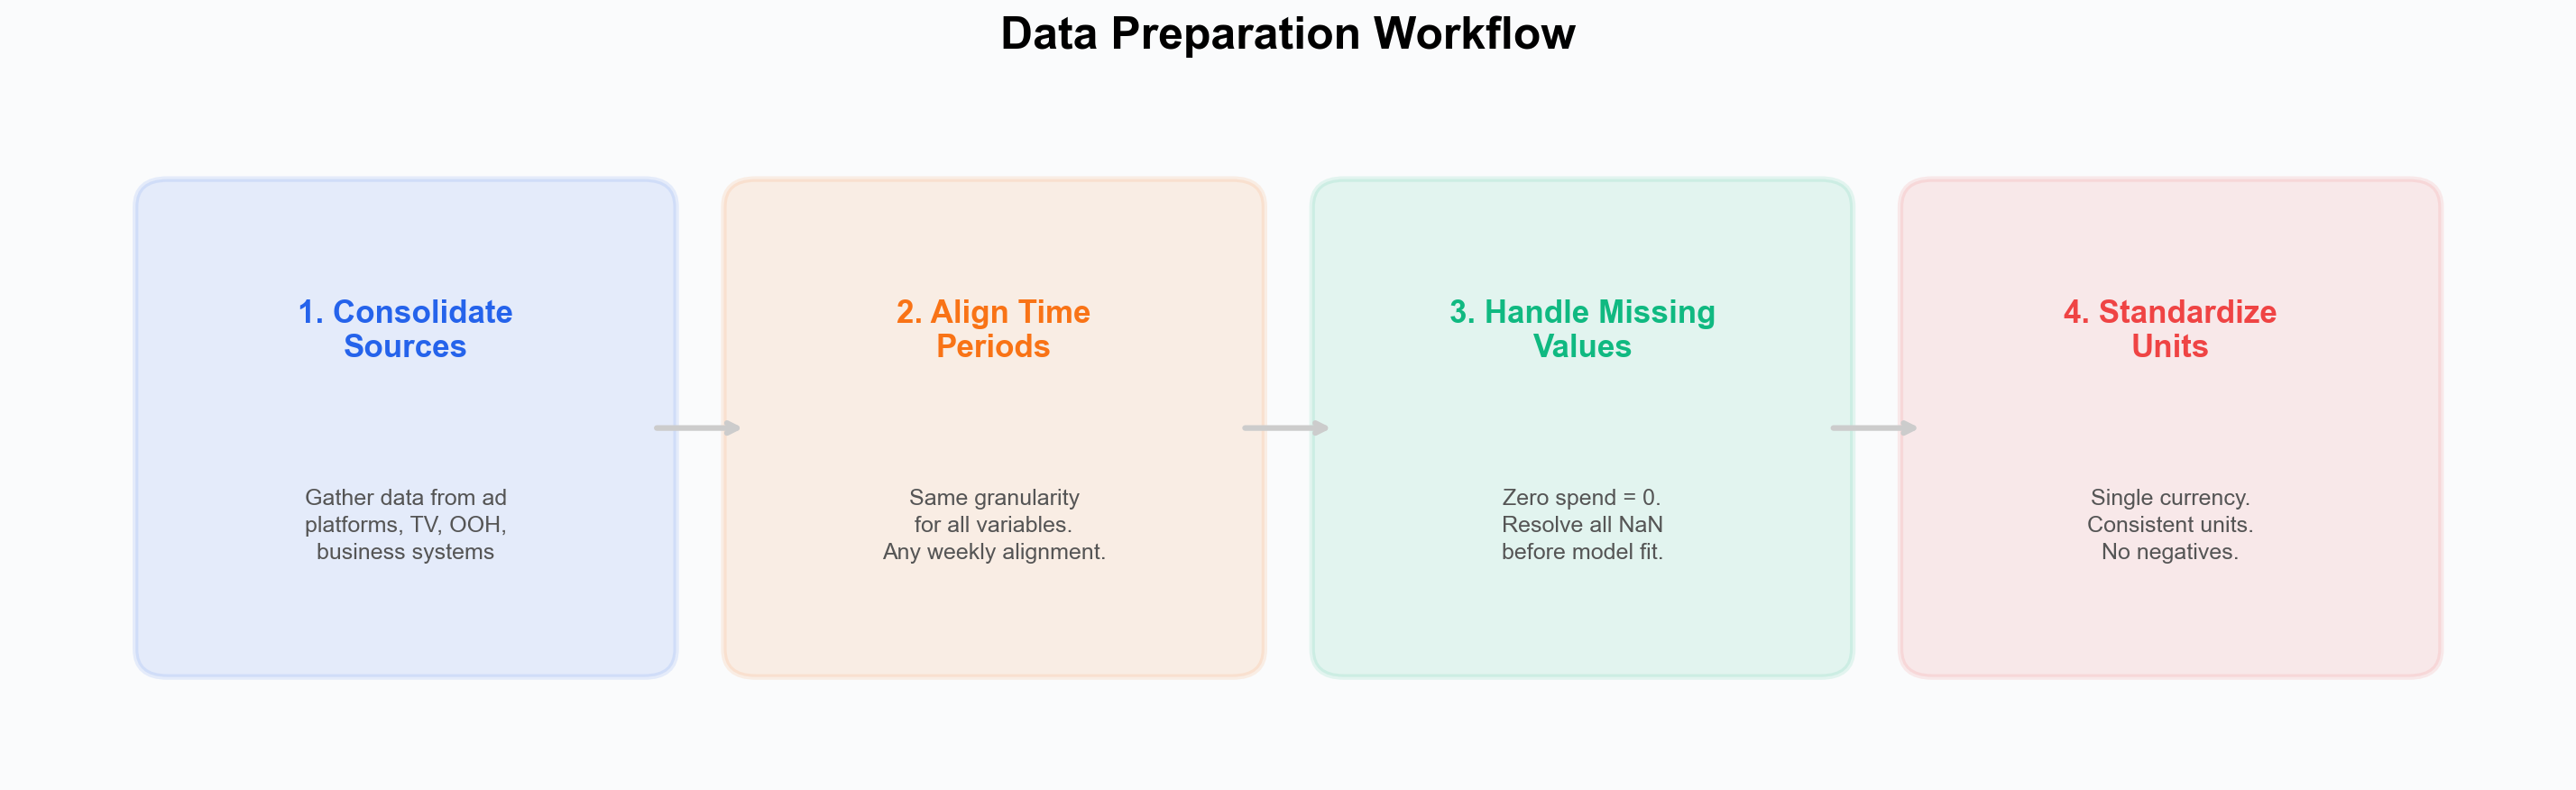 The four key steps for preparing your data before uploading to Simba.
Before You Start
Simba’s Data Validator can detect many data quality issues after upload. It is not automatic — you trigger it by clicking Start Validator Agent in the Warehouse configuration screen. However, addressing obvious problems beforehand leads to faster model setup and better results.
Step 1: Consolidate Your Data Sources
Marketing data typically lives across multiple platforms. Gather data from:
- Ad platforms — Google Ads, Meta Ads Manager, TikTok Ads, DV360
- TV buying systems — GRP or spend data from your media agency
- OOH platforms — Out-of-home spend or impression data
- Business systems — Revenue, sales, or conversion data from your CRM, ERP, or analytics platform
- External data — Pricing, weather, economic indicators
Combine everything into a single CSV file with consistent time periods. Simba accepts CSV format only (10 MB max). Excel (.xlsx) is not supported — export to CSV before uploading.
Step 2: Align Time Periods
All variables must share the same time granularity:
- If your revenue data is weekly, aggregate all media data to weekly totals.
- Simba auto-detects periodicity (daily, weekly, monthly) from the date column spacing. Any weekly alignment is accepted — there is no requirement to use Monday-start weeks.
- YYYY-MM-DD format is recommended for dates, but Simba supports 10 date formats and will auto-parse. See Data Requirements for the full list.
Common Pitfalls
- Media platforms may report on different day boundaries (e.g., Facebook uses PST).
- TV data may come in 4-week periods — convert to weekly.
- Don’t mix calendar months with ISO weeks.
Step 3: Handle Missing Values
The model does not auto-fill missing values. All NaN/blank cells must be resolved before model fitting. The Data Validator will flag missing data with severity based on percentage: >50% missing = error, 10–50% = warning, <10% = info.
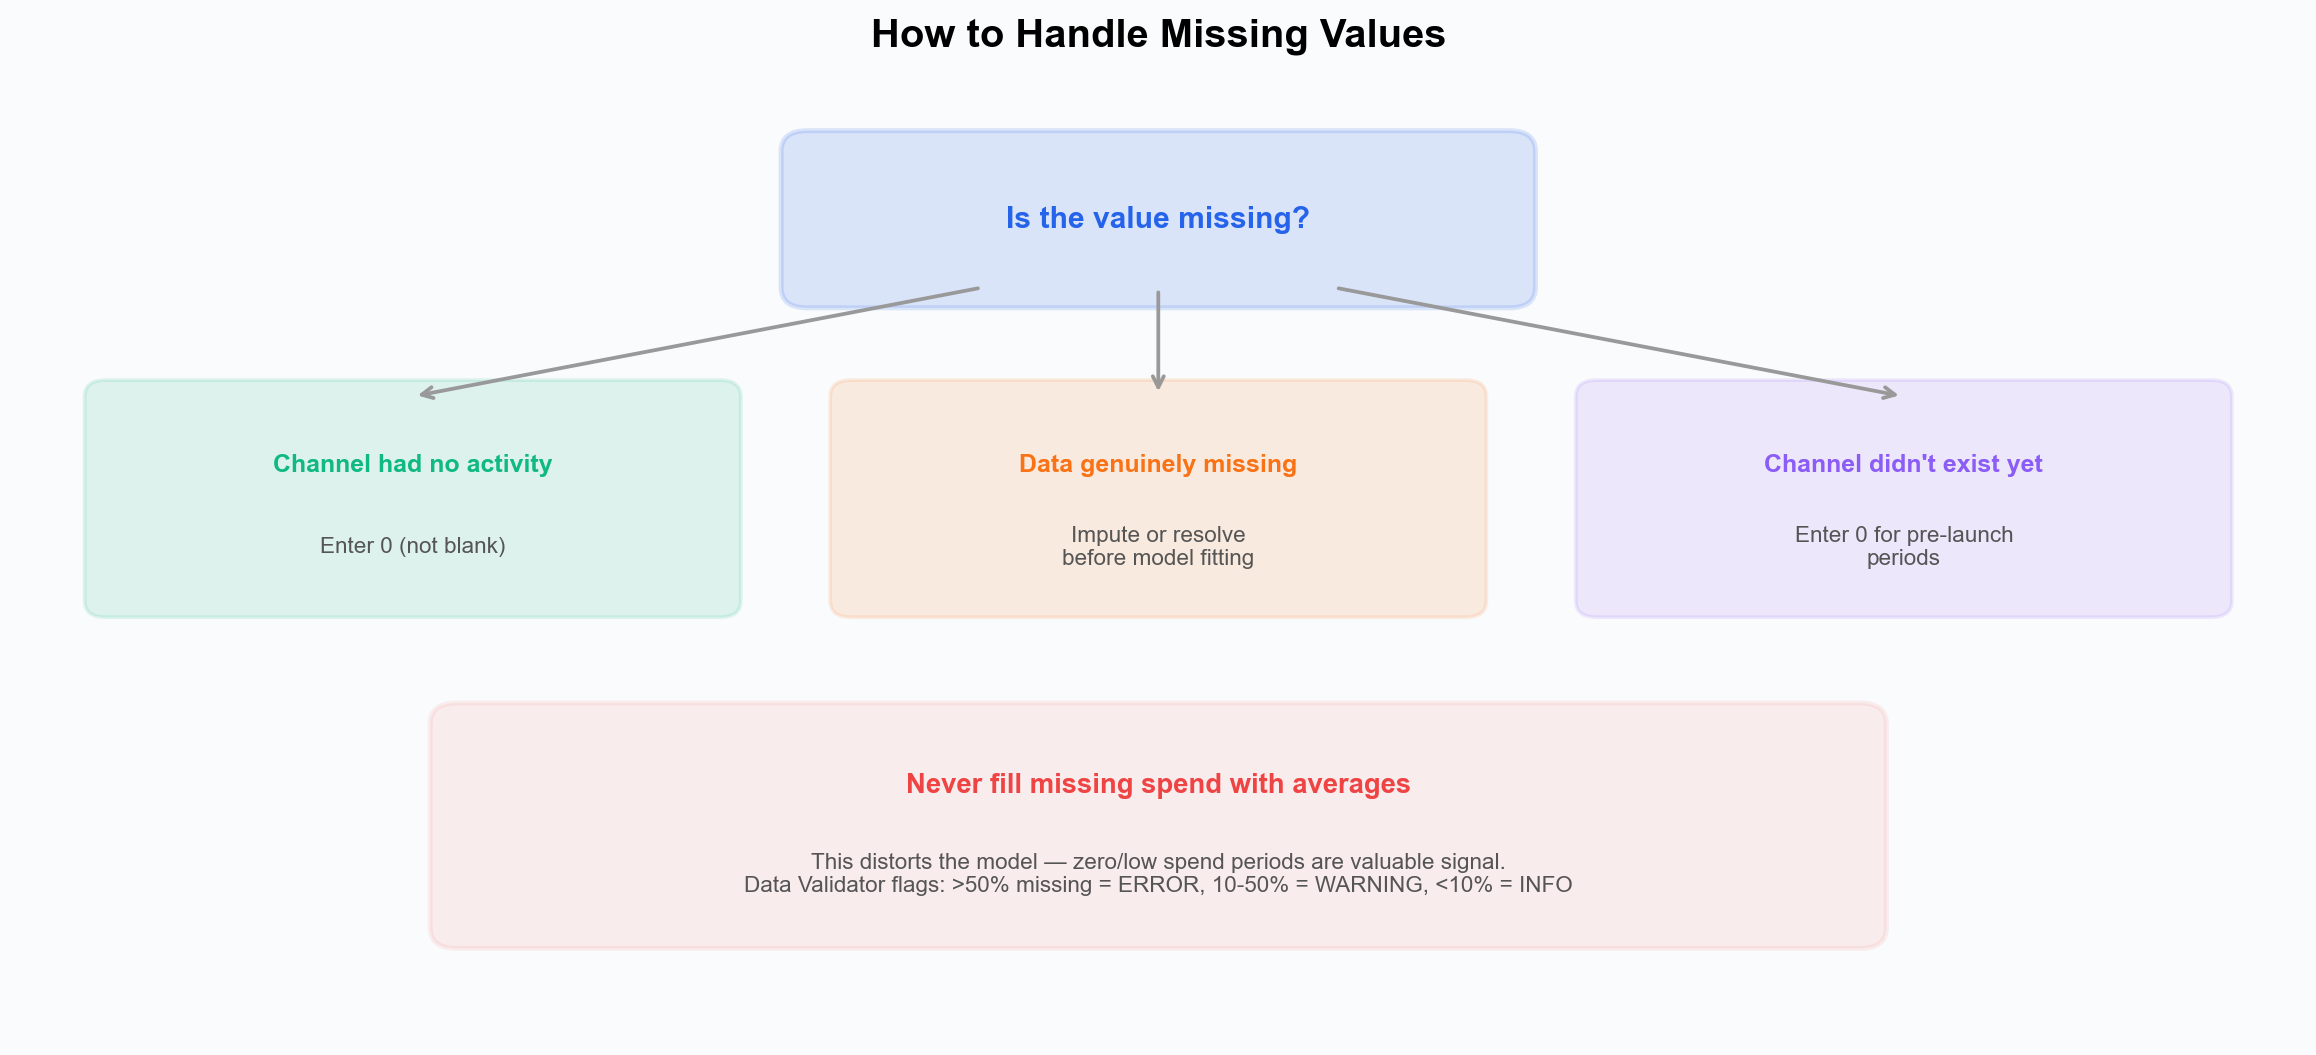 Zero spend should be entered as 0, not left blank. Genuinely missing data must be imputed or resolved before fitting. Never fill missing spend with averages — zero/low spend periods are valuable signal.
| Scenario | Recommended Action |
|---|---|
| Channel had zero spend | Enter 0 (not blank) |
| Data is genuinely missing | Impute (fill in missing values) using an appropriate method (e.g., median for spend, forward-fill for controls) or remove the affected rows |
| Channel didn’t exist yet | Enter 0 for periods before launch |
| Temporary data gap (1–2 periods) | Interpolate (estimate values between known data points) if reasonable, or impute |
Never fill missing values with averages — this distorts the model’s ability to measure impact during low/zero activity periods. Zero-spend weeks are valuable signal because they show what happens when a channel is “off.”
Step 4: Standardize Units and Check for Errors
Units
- Use a single currency for all spend data (convert if needed). Simba does not perform currency conversion — this is your responsibility.
- Keep impression data in consistent units (thousands, millions, or raw counts — just be consistent).
- Use the same revenue metric throughout (gross vs net — pick one).
Negative Values
Negative values are flagged as errors by the Data Validator in these columns:
- Media spend — cannot be negative
- Price / distribution — cannot be negative
- Multiplier — cannot be negative
If your revenue data includes returns or refunds that produce negative values, consider netting them against gross revenue to produce a non-negative series.
Required Columns
Remember that multiplier and hierarchy columns are always required:
- Multiplier: If your KPI is already revenue, set the multiplier column to all 1s.
- Hierarchy: For single-brand models, use a single repeated value (e.g., your brand name).
See Data Requirements for full details.
Step 5: Check for Anomalies
Before uploading, manually inspect your data for:
- Spikes — Unusually high spend or revenue periods (are they real or data errors?). The Data Validator’s outlier check uses IQR-based spike detection.
- Zeros — Unexpected zero values that should have data.
- Duplicates — Overlapping time periods.
- Structural breaks — Sudden level shifts in your data that might indicate a data collection change rather than a real business event.
Step 6: Add Context Variables
Enrich your model with non-media variables that explain business outcomes:
- Promotions — Binary flags (0/1) for sale periods or use discount depth.
- Pricing — Price index or actual prices.
- Distribution changes — New store openings, distribution expansions.
- External shocks — Supply chain disruptions, competitor launches.
Note: Holiday and event effects can be configured directly in Simba’s model setup using the holiday selector (with country-based lookup), so you do not need to include them as columns in your data. See Seasonality.
Final Checklist
Before uploading to Simba:
- All data is in a single CSV file (not Excel)
- A date column exists with a recognized name (date, week, month, or period)
- All columns have clear, descriptive headers (for accurate semantic matching)
- Multiplier and hierarchy columns are included
- Time granularity is consistent across all variables
- Zero spend is entered as 0, not blank
- No NaN/blank cells remain (impute or resolve)
- No negative values in spend, price, multiplier, or distribution columns
- No duplicate time periods
- Currency and units are consistent throughout
- File size is under 10 MB
What Happens Next
After uploading your data, click Start Validator Agent in the Warehouse configuration screen to run the Data Validator. You can choose between two validation depths:
- Fast validation (2–3 min) — Standard analysis for typical datasets.
- Deep analysis (4–6 min) — Comprehensive analysis for complex datasets.
The Data Validator runs 10 specialized checks covering schema integrity, frequency diagnostics, alignment, multiplier logic, controls, coverage, outlier detection, multicollinearity, leakage, and documentation quality — then provides categorized findings and actionable recommendations.
Next Steps
- Data Validation — Deep dive into the Data Validator results.
- Data Requirements — What data you need and supported formats.
- Supported Channels — Full list of channel types Simba recognizes.